Validating .NET Settings Part 2 - Validating Using FluentValidation
[C#, Validation]
This is Part 2 of a series on validating application settings.
- Validating .NET Settings Part 1 - Manual Validation
- Validating .NET Settings Part 2 - Validating Using FluentValidation (this post)
- Validating .NET Settings Part 3 - Validating Using Data Annotations
- Validating .NET Settings Part 4 - Validating Using IValidateOptions
In our last post, we looked at how to validate startup application settings manually.
In this post we will look at how to use a library specialized for validation, FluentValidation.
To recap, our settings class looks like this:
public class ApplicationOptions
{
    public string APIKey { get; set; }
    public int RetryCount { get; set; }
    public int RequestsPerMinute { get; set; }
    public int RequestsPerDay { get; set; }
}
Our constraints are these:
- The
APIKeymust be composed of uppercase characters with a maximum length of 10 - The
RetryCountmust be between1and 5 - The
RequestsPerMinutecannot be more than1000 - The
RequestsPerDaycannot be more than theRequetsPerMinute - All of these settings are mandatory
The first thing to do is use nuget to install the FluentValidation package to the API
dotnet add package FluentValidation
We then write a class with the logic to validate our class by inheriting the generic AbstractValidator class.
public class ApplicationOptionsValidator : AbstractValidator<ApplicationOptions>
{
    public ApplicationOptionsValidator()
    {
        RuleFor(x => x.APIKey)
            .NotNull().NotEmpty() // Required, and not default
            .Matches("^[A-Z]{10}$");

        RuleFor(x => x.RetryCount)
            .NotNull().NotEmpty() // Required, and not default
            .InclusiveBetween(1, 5);

        RuleFor(x => x.RequestsPerMinute)
            .NotNull().NotEmpty() // Required, and not default
            .LessThanOrEqualTo(3)
            .LessThanOrEqualTo(x => x.RequestsPerDay)

        RuleFor(x => x.RequestsPerDay)
            .NotNull().NotEmpty() // Required, and not default
            .LessThan(1_000);
    }
}
We then update our startup to create a validator and perform the validation, throwing an exception if there is a failed validation.
var settings = new ApplicationOptions();
builder.Configuration.GetSection(nameof(ApplicationOptions)).Bind(settings);

// Validate the settings
var validator = new ApplicationOptionsValidator();
validator.ValidateAndThrow(settings);

We can also write tests to verify our validation logic. This test verifies valid settings are accepted
  [Fact]
  public void Valid_Settings_Are_Validated()
  {
      var settings = new ApplicationOptions
      {
          APIKey = "ABCDEFGHIJ",
          RetryCount = 3,
          RequestsPerMinute = 3,
          RequestsPerDay = 500
      };

      var validator = new ApplicationOptionsValidator();
      var result = validator.Validate(settings);
      result.IsValid.Should().BeTrue();
  }
This test verifies one of the invalid cases - an invalid RequestsPerMinute
[Fact]
public void Invalid_RetryCount_Is_Validated()
{
    var settings = new ApplicationOptions
    {
        APIKey = "ABCDEFGHIJ",
        RetryCount = 5,
        RequestsPerMinute = 5,
        RequestsPerDay = 500
    };

    var validator = new ApplicationOptionsValidator();
    var result = validator.Validate(settings);
    // It should not be valid
    result.IsValid.Should().BeFalse();
    // Should have only one error
    result.Errors.Should().HaveCount(1);
    // Error message should be as follows
    result.Errors[0].ErrorMessage.Should().Be("'Requests Per Minute' must be less than or equal to '3'.");
}
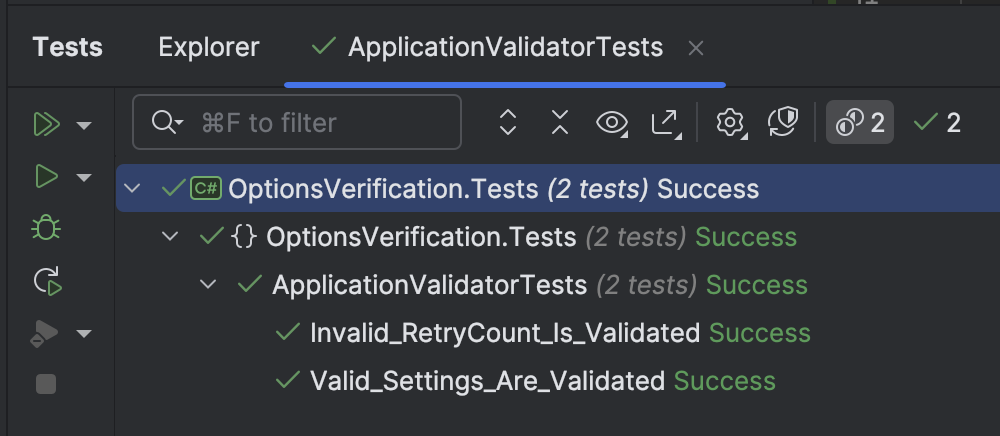
If we run our tests, we should see the following:
This approach has a number of benefits over manual validation:
-
The code to validate is in one place
-
It is easy to test the validation code
-
This validator can be used across the application layers or even other applications if they have the same problem domain
-
Validation rules are easy to read, write and understand
-
If any validation fails, you have options — you do not have to throw an exception. You can also perform the validation, check whether it succeeded, and get information on why it didn’t.
 var result = validator.Validate(settings);
 if (!result.IsValid)
 {
     // Print the errors
     foreach (var failure in result.Errors)
     {
         Console.WriteLine(failure.ErrorMessage);
     }
 }
Our next post will examine how the built-in .NET pipeline can help validate our settings.
The code is in my GitHub.
Happy hacking!